Latest Job Opportunities in India
Discover top job listings and career opportunities across India. Stay updated with the latest openings in IT, government, and more.
Check Out Jobs!Read More
🚀 DIY compressed prevention
revealed
by Katie Barton

Katie Barton A great editor
Katie Barton is an independent writer with experience in improving home. She has always been able to remember, she had a passion for making homes beautiful. It specializes in cleaning, organization and home improvement projects, which brings her knowledge and creativity to every article she writes.
| It has been updated
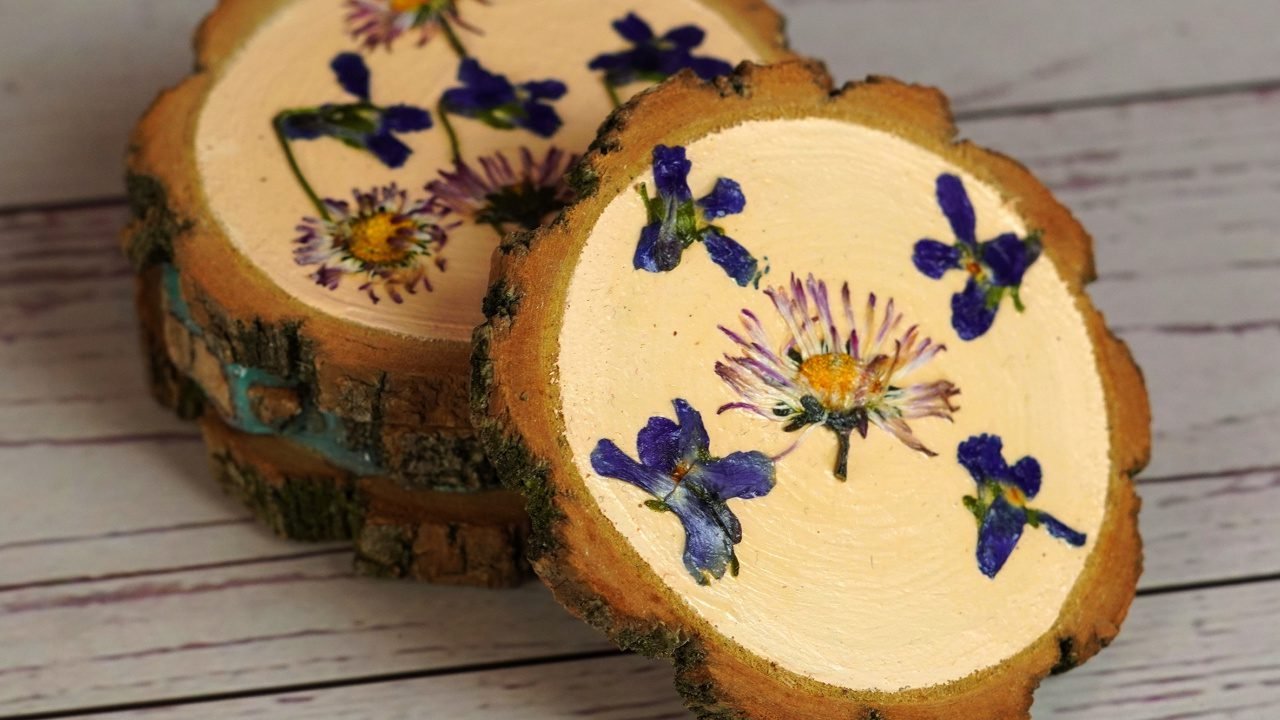
Pressure on flowers is an eternal way to keep memories, whether from a wedding bouquet, a baby shower or a meaningful moment on a trip. There is a beautiful and practical way to display compressed flowers by converting them into hand -made protective.

These DIY CEOs are ideal for gifts, displayed on a wedding table, or using preferences for guests.

The necessary materials:
- Wood slices
- Compressed flowers
- Cream acrylic paint (or any light color)
- Decoupage Glue
- Brush

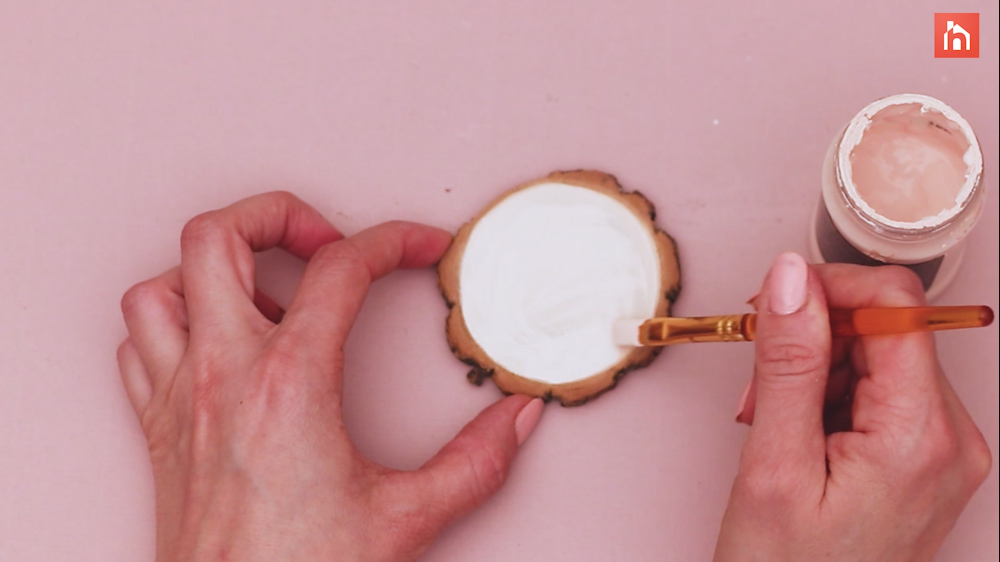
Step 1: Drawing the wood slice
Draw the center of each wooden slice using a light color acrylic paint, leaving the natural bark edge. Neutral tones that help flowers to distinguish. Let the paint dry completely.
Step 2: Preparatory with glue
Apply a layer of Decoupage glue to the painted area. This helps flowers to adhere to and survive.


Step 3: Add a central flower
Choose a pressed flower and put it in the center of the ship. Gently brush glue over it to secure.
Step 4: Surrounded by small flowers
Add four smaller compact flowers around the flower center. Use contrasting or complementary colors to take a balanced look. Glue brush on each one to close it in place.

Step 5: Final Seal
Once all the flowers are arranged, apply a final layer of glue to the whole surface. Let it be treated completely before using.
Source Read more at: Hashtags:
Written by #DIY #compressed #prevention
Source Feed: Katie Barton on 2025-06-18 17:37:00
🌟 DIY Projects: Simple Do-It-Yourself Jobs and Craft Ideas
explained DIY compressed prevention
👉
by Katie Barton
Katie Barton A great editor
Katie Barton is an independent writer with experience in improving home. She has always been able to remember, she had a passion for making homes beautiful. It specializes in cleaning, organization and home improvement projects, which brings her knowledge and creativity to every article she writes.
| It has been updated
Pressure on flowers is an eternal way to keep memories, whether from a wedding bouquet, a baby shower or a meaningful moment on a trip. There is a beautiful and practical way to display compressed flowers by converting them into hand -made protective.
These DIY CEOs are ideal for gifts, displayed on a wedding table, or using preferences for guests.
The necessary materials:
- Wood slices
- Compressed flowers
- Cream acrylic paint (or any light color)
- Decoupage Glue
- Brush
Step 1: Drawing the wood slice
Draw the center of each wooden slice using a light color acrylic paint, leaving the natural bark edge. Neutral tones that help flowers to distinguish. Let the paint dry completely.
Step 2: Preparatory with glue
Apply a layer of Decoupage glue to the painted area. This helps flowers to adhere to and survive.
Step 3: Add a central flower
Choose a pressed flower and put it in the center of the ship. Gently brush glue over it to secure.
Step 4: Surrounded by small flowers
Add four smaller compact flowers around the flower center. Use contrasting or complementary colors to take a balanced look. Glue brush on each one to close it in place.
Step 5: Final Seal
Once all the flowers are arranged, apply a final layer of glue to the whole surface. Let it be treated completely before using.
Explore more: Read more at: Authored by
Source Feed: #DIY #compressed #prevention
Written by Katie Barton on 2025-06-18 17:37:00
Via DIY Projects: Simple Do-It-Yourself Jobs and Craft Ideas